Hello lovelies!
Strawberries are in season at the moment. So lately I went to a strawberry field with my mum. We had a really nice morning there and we harvested lots of strawberries. Of course, you can also buy pre-picked strawberries, but I love to pick them myself. We went home in a really good mood with five and a half kilos of strawberries each and of course, those were meant to be processed. My mum made here absolutely gorgeous strawberry limes and I made three different kinds of jam, because one just isn’t enough 😉 In my next post, I’ll tell you what else I did with my strawberries.
For the strawberry jam you need:
- 1,5 kg strawberries
- 500g preserving sugar 3:1
Prep:
First you wash the strawberries, remove the leafs and cut them into small pieces. Then add the preserving sugar and let it soak overnight.
For the strawberry-rhubarb-jam you need:
- 750g strawberries
- 750g rhubarb
- 500g preserving sugar 3:1
Prep:
First you wash the strawberries, remove the leafs and cut them into small pieces. Then you wash and dice the rhubarb. After that you add the preserving sugar and let it soak overnight.
For the strawberry-coconut-jam you need:
- 750g- 1kg strawberries
- 1 can coconut milk
- 500g preserving sugar 3:1
Prep:
First you wash the strawberries, remove the leafs and cut them into small pieces. Then add one can of coconut milk and the preserving sugar and let it soak overnight.
Preparation:
The next day, I gather lots of jam jars from my pantry and make them sterile. Therefor screw the lids off and place the glasses and lids in the clean kitchen sink. Now bring lots of water to a boil and fill the glasses and lids until they overflow. Then you take them out using tongs and place them upside down on a clean kitchen towel.
As soon as you have prepared all of your jars, you can start to cook the jam. Take a big pot to prevent splattering and don’t forget to put a small plate in the freezer to test for a set. Now you can blend the fruits. It’s a matter of taste how much you blend them. I like my strawberry jams to be chunky. Then you bring the jam to a boil while constantly stirring. It has to boil for 4 to 6 minutes in order to gel. Now test for a set! Therefor put a drop of the hot jam on the ice-cold plate and look if it sets. If yes, you can fill the jam in your glasses. If not, keep it boiling until it sets.
It’s always good to use a funnel to fill the glasses. I use this one. That way the rim of your jars stays clean and the jam lasts longer. Now fill each jar with jam and immediately close it with its lid. Put the jam filled glasses upside down for 15 minutes. Then turn them round and let them cool completely. It’s important to cook your jams one after the other, because the glasses have to be filled with boiling hot jam.
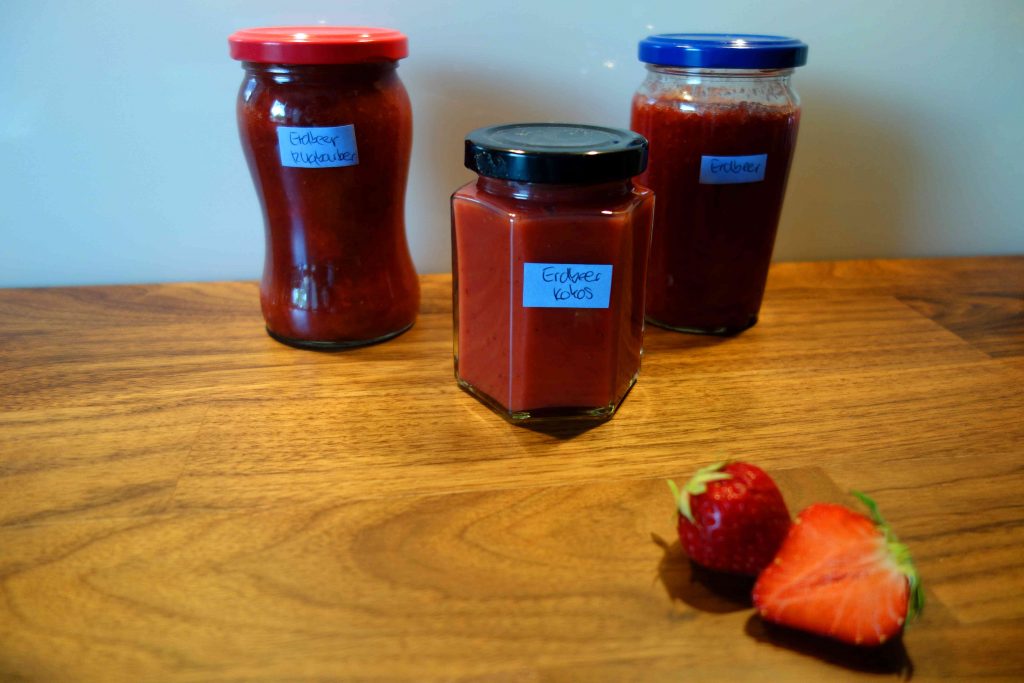
If everything went right, you will hear a ‘blop’ as it cools down and the lids will be slightly curved inwards. If this isn’t the case with one of your jars, place it in the fridge and eat that jam first. The rest of your jam jars has to be labeled now and then you can put it in your pantry. I use old papers and flour paste to label my jams- totally easy and pretty zero waste 😉 The jam lasts for several years. So don’t be afraid of making a big batch.
Have fun!
XOXO, Stef